Quick Start

4 Steps to Managed and Automated i18n
Write Features, Not JSON Files
The easiest way to use i18nexus is through the editor extension and CLI. These tools let you add new strings and sync translations to your codebase while you work. Every string is automatically AI-translated and then managed in a shared dashboard where your team can review and update them.
Note: This guide assumes you already have an i18n library (e.g. i18next, next-intl, react-intl) integrated into your project. If not, we recommend starting with one of our full tutorials here:
Let's Go!
1. Create an i18nexus Project
Start by creating a free account at i18nexus.com.
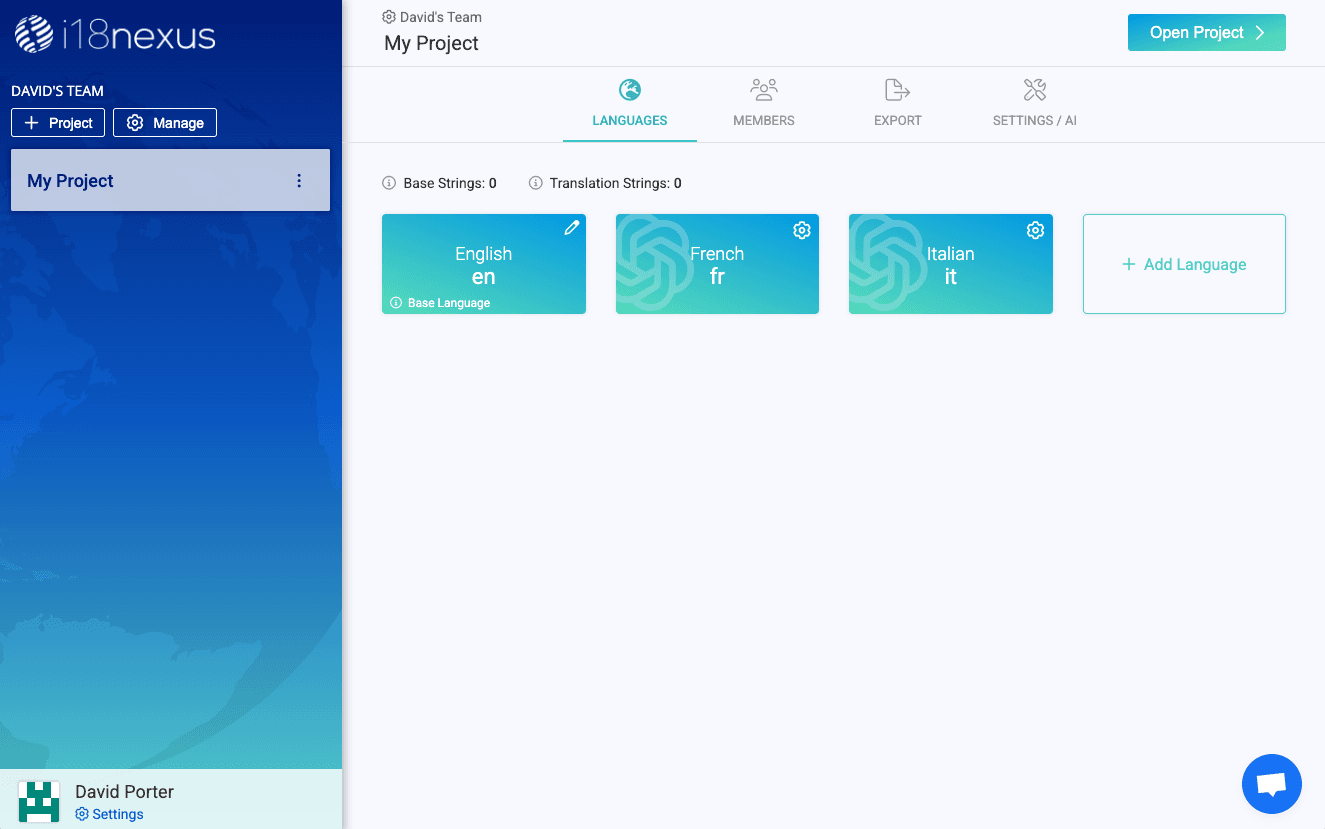
In your Project Dashboard, click "Add Language" to add each language your project supports. The Base Language is your default language.

If you already have translations, use the Import button to bring in your existing i18n JSON files.

2. Install the i18nexus Editor Extension
You can add strings directly in the dashboard, but as a developer, the easiest way to add strings is directly from your code editor. Install the i18nexus extension, available in VS Code and Cursor:

3. Initialize the Extension
To connect the extension to your i18nexus project, add these environment variables to a .env file at the root of your project:
.envI18NEXUS_API_KEY=your_project_api_key
I18NEXUS_PERSONAL_ACCESS_TOKEN=your_patYou can find your Project API Key in your project settings:

Generate a Personal Access Token in your account settings:

Make sure it includes the base_strings:create scope:

After clicking the Re-check Environment button in the panel, the extension is ready to go!

4. Using the i18nexus CLI
The i18nexus CLI is used to pull your latest strings and sync updates while your dev server is running.
First, install i18nexus-cli and concurrently as dev dependencies:
npm i i18nexus-cli concurrently --save-devUse the i18nexus listen command during development to automatically update your local translation files. Below are example scripts for Next.js and Vite.
In these examples, we run our dev server and i18nexus listen together with concurrently. For builds, we simply run i18nexus pull to download the latest translations before building.
Next.js
package.json"scripts": {
"dev": "concurrently \"next dev\" \"i18nexus listen\"",
"build": "i18nexus pull && next build",
"start": "i18nexus pull && next start",
"lint": "next lint"
}Vite
package.json"scripts": {
"dev": "concurrently \"vite\" \"i18nexus listen\"",
"build": "i18nexus pull && vite build",
"lint": "eslint .",
"preview": "i18nexus pull && vite preview"
}The CLI automatically detects the correct output path for your translations based on your framework and i18n library. To customize the path, use the --path option (see the CLI docs for details).
You’re All Set!
Now your translations are automatically translated with AI and synced from your team's i18nexus dashboard. No more manually editing JSON files or worrying about out-of-date translations.
As always, if you have any questions, click the chat bubble in the corner or reach out to us at support@i18nexus.com.
Level up your localization
It only takes a few minutes to streamline your translations forever.
Get started